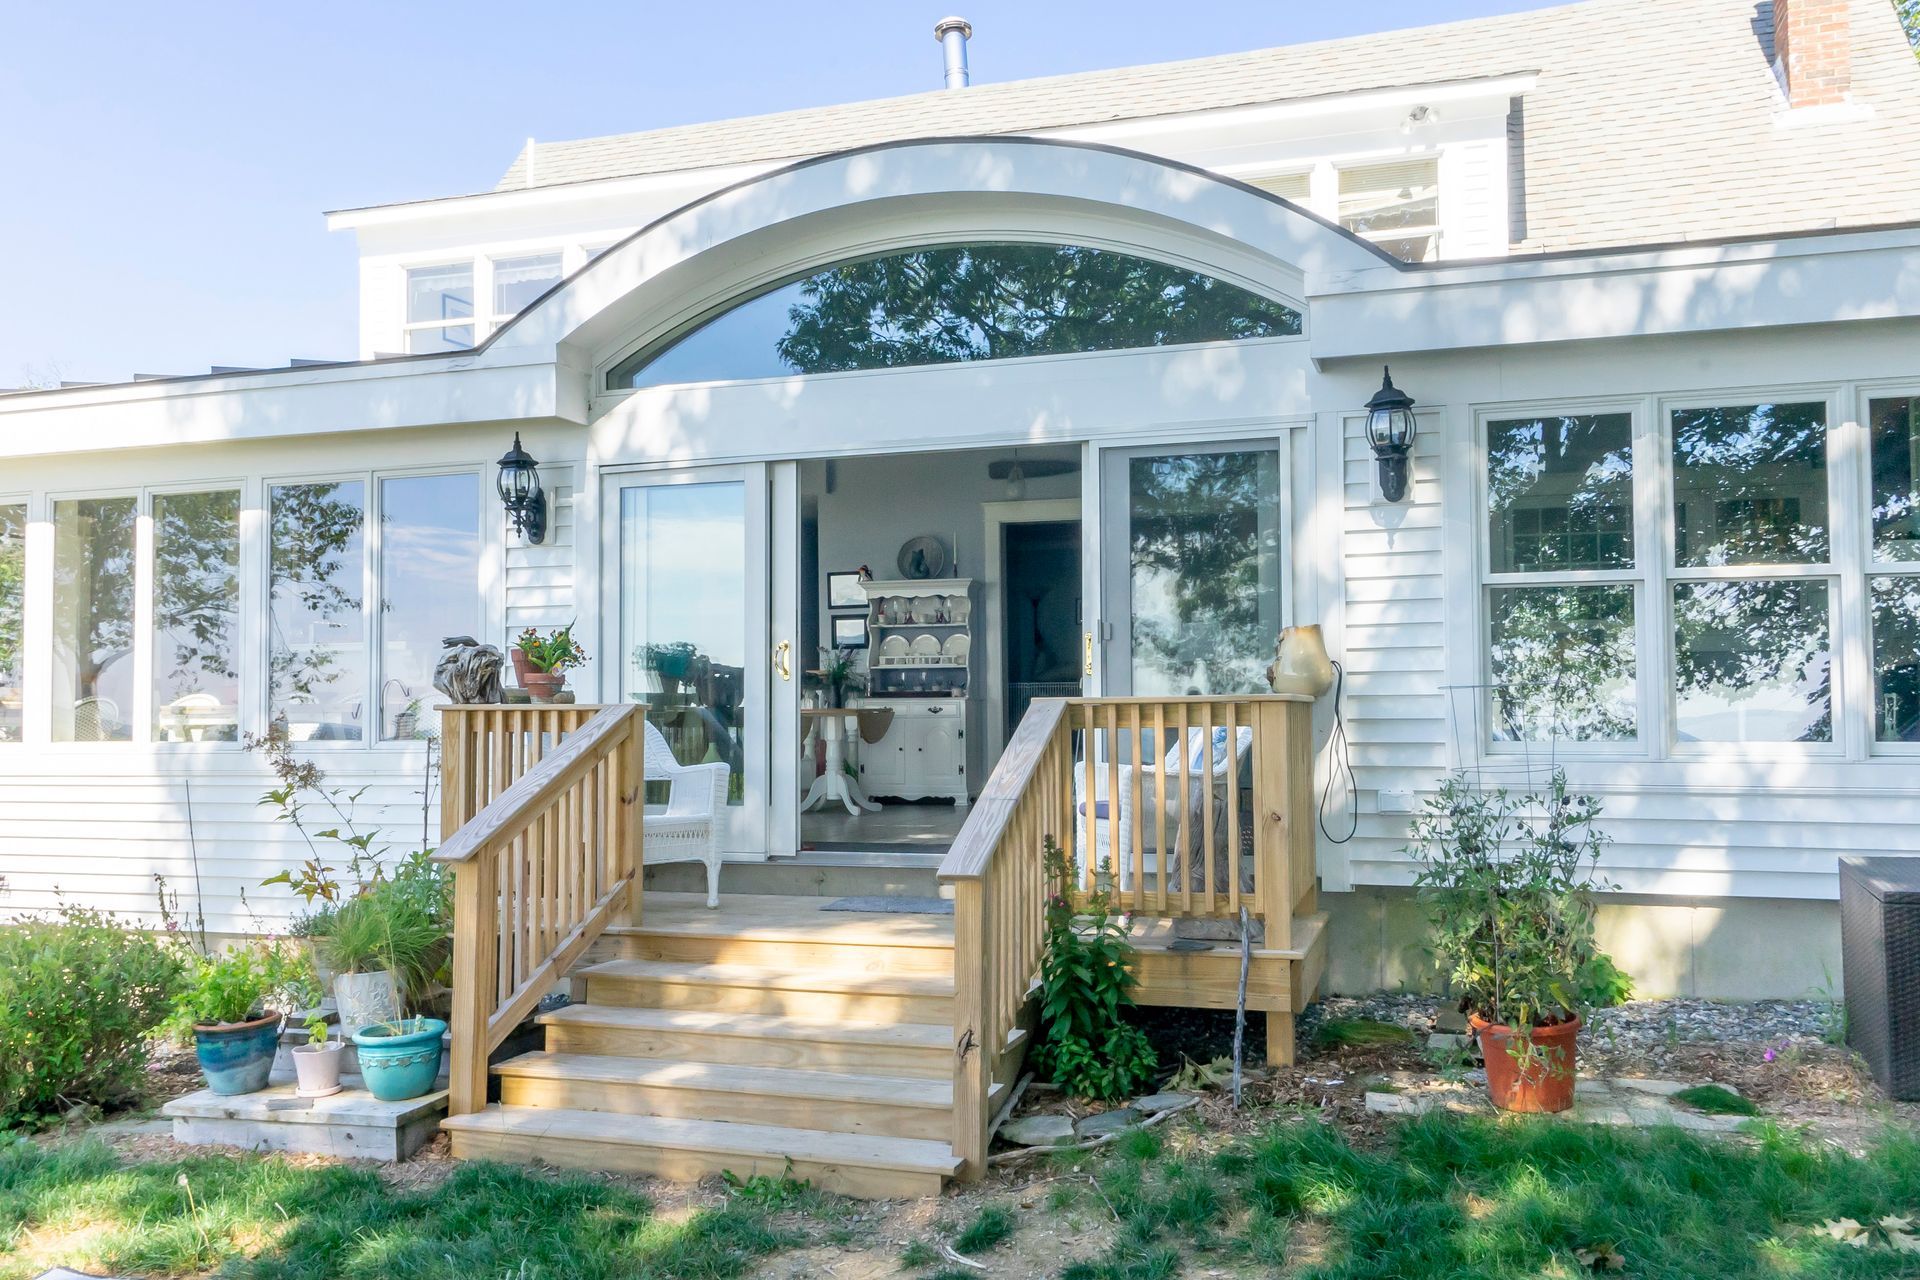

Custom Finish Carpentry: Solving Common Trim and Molding Challenges
Trim and molding might seem like small details, but they play a huge role in shaping the look and feel of your home. They add character, protect your walls, and give your space a polished, complete appearance.
However, dealing with uneven walls, tricky corners, or mismatched designs can be frustrating. That’s where custom finish carpentry shines. It’s all about creating perfectly tailored solutions that fit your style, solve challenges, and elevate your home.
In this post, we’ll break down the basics of trim and molding, explore common problems, and show how custom carpentry can transform your space.
Understanding Trim and Molding Basics
What Are Trim and Molding?
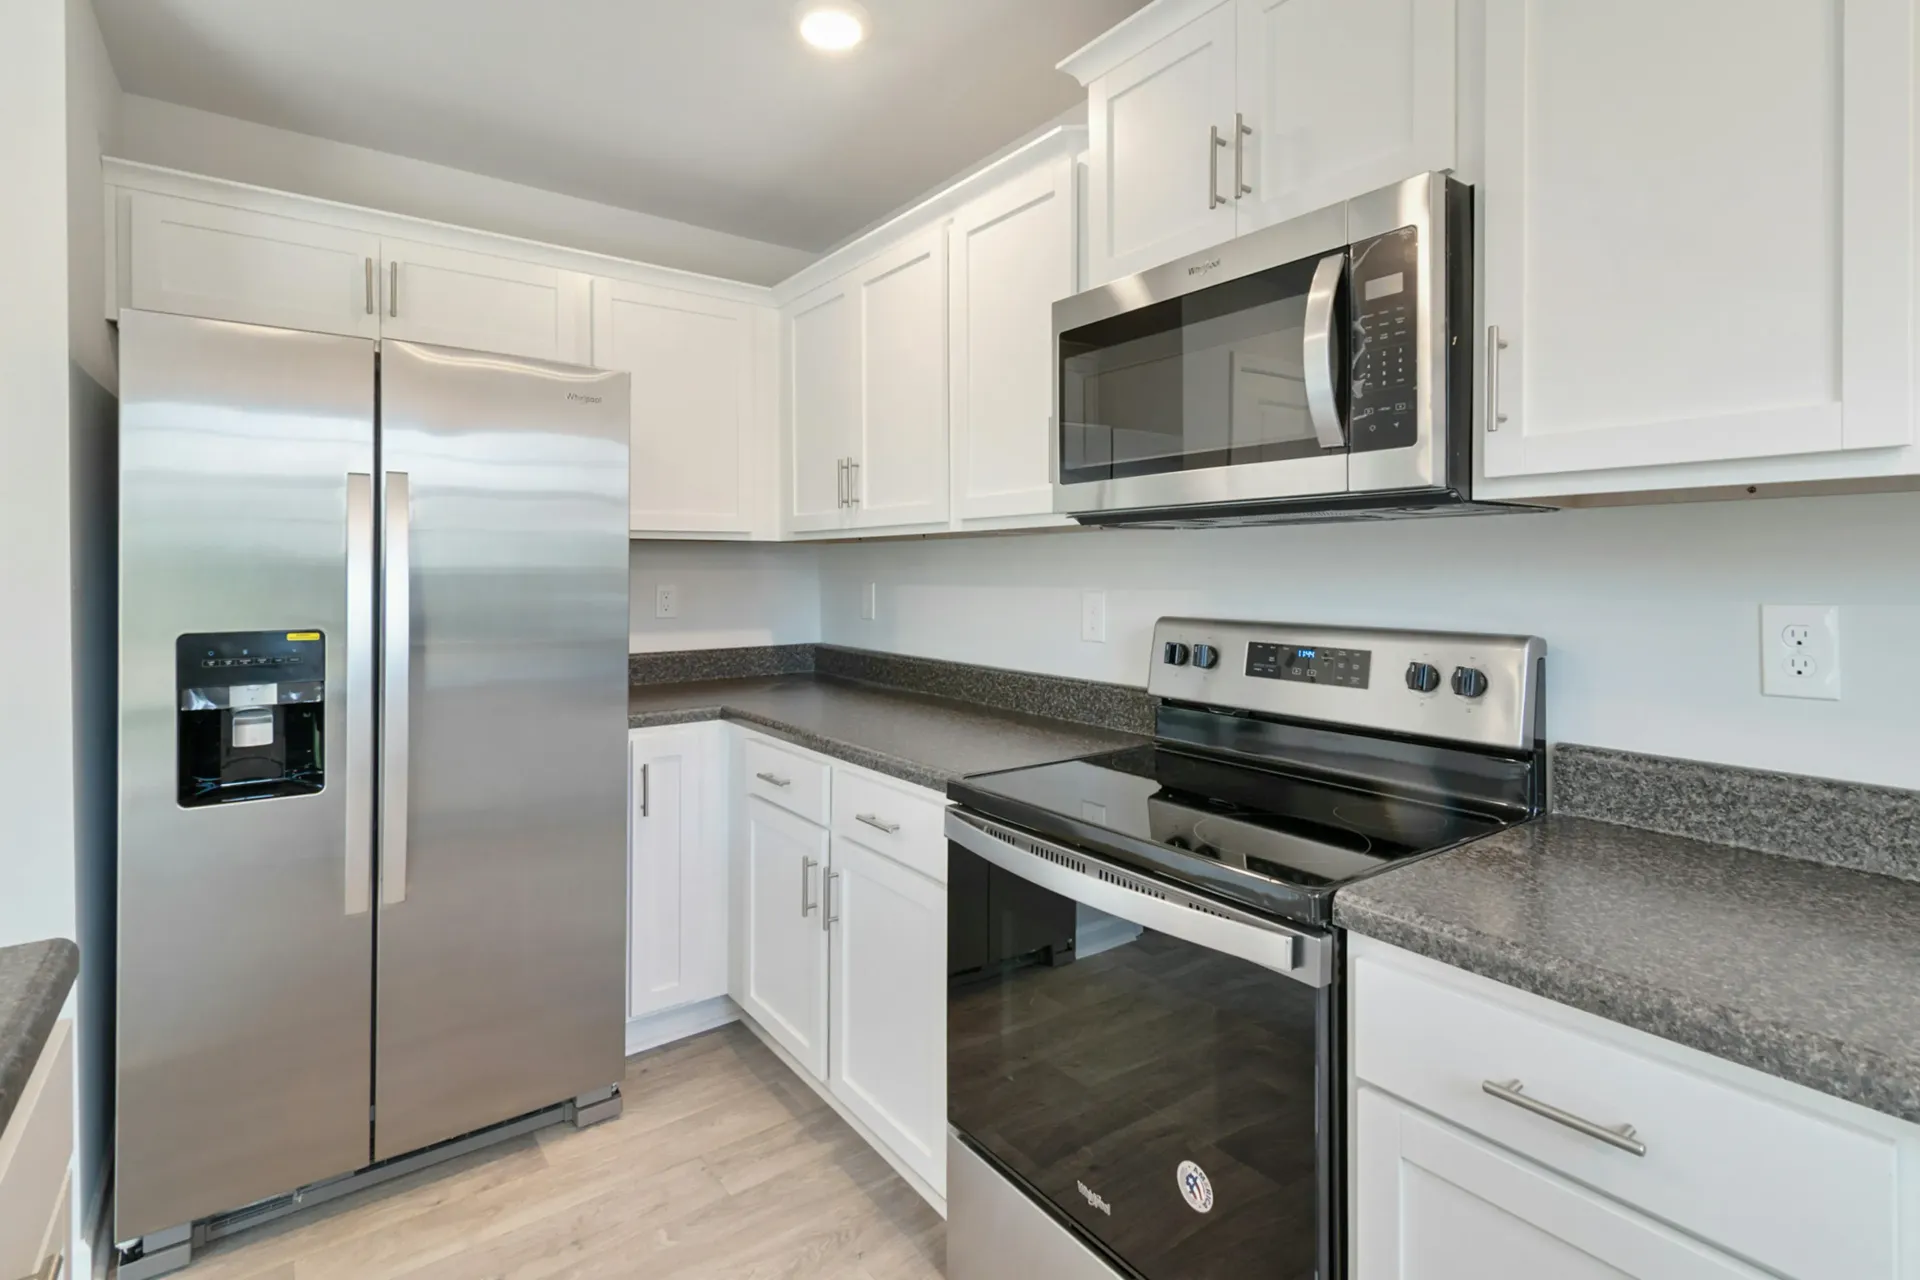
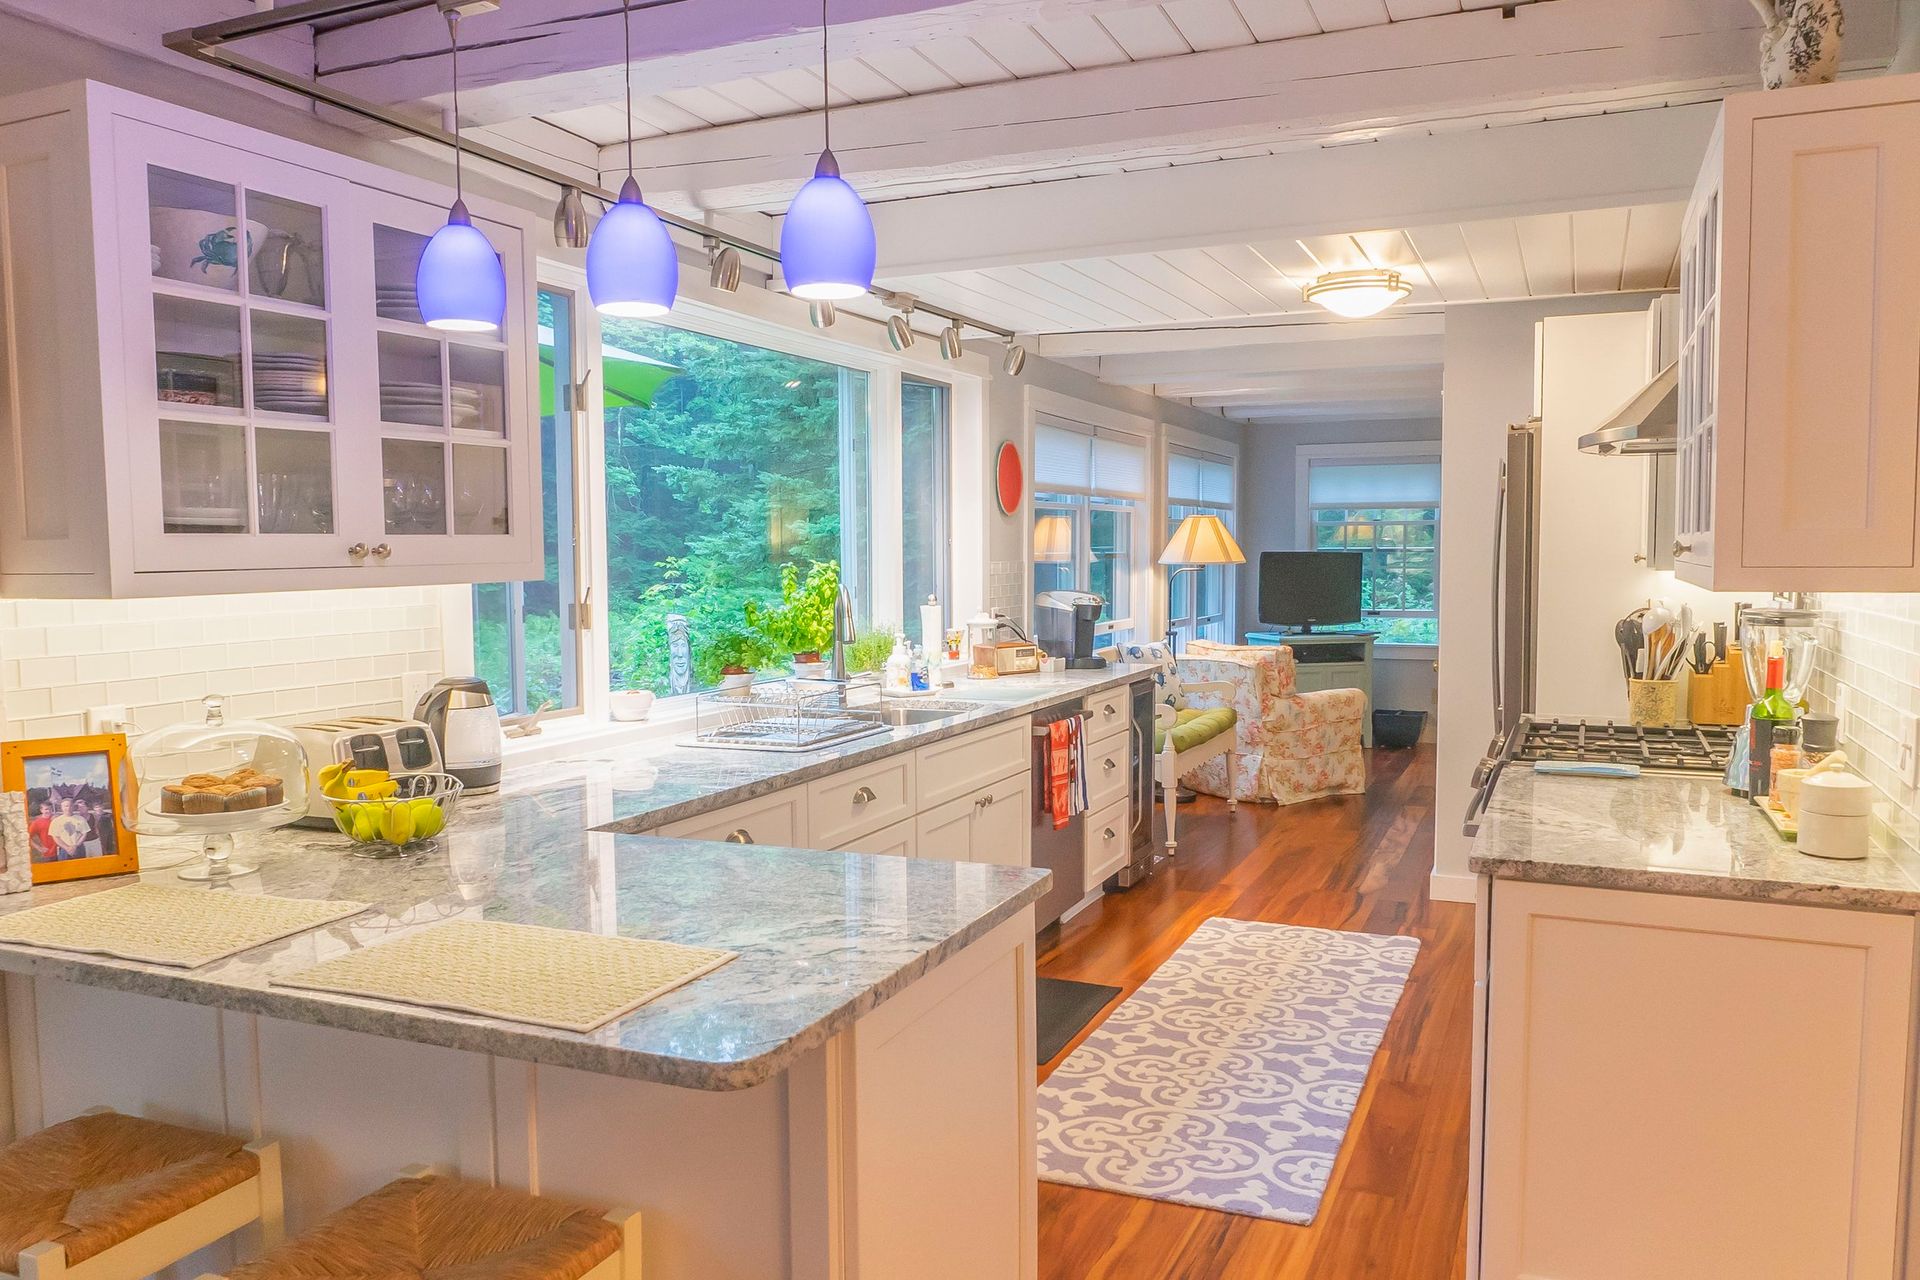
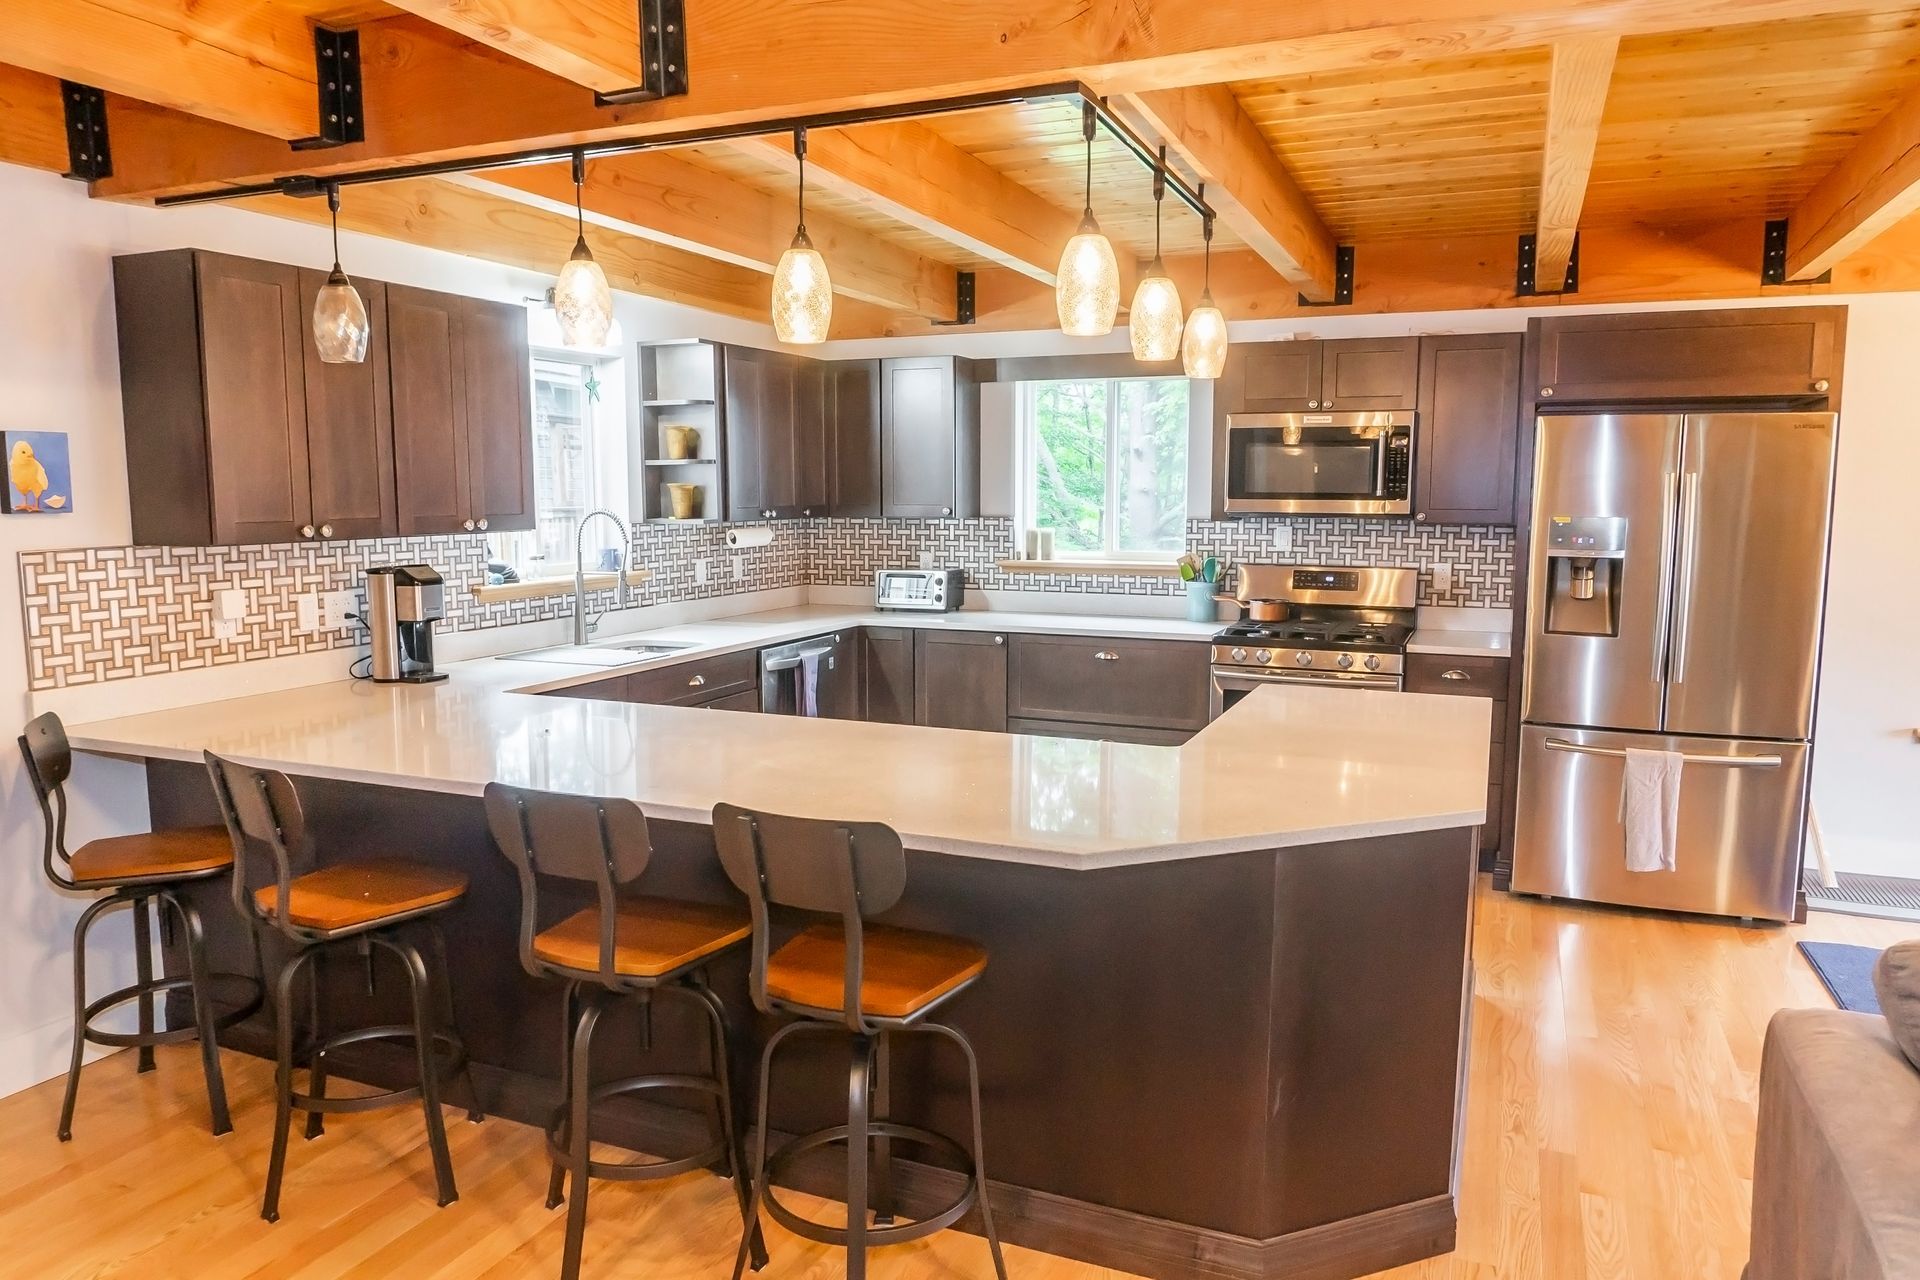
Trim and molding are like the finishing touches for your home. Trim gives your space clean, sharp edges, while molding adds a bit of flair and style. They’re not just for looks, though—they also protect your walls and make your home feel complete.
Types of Trim and Molding
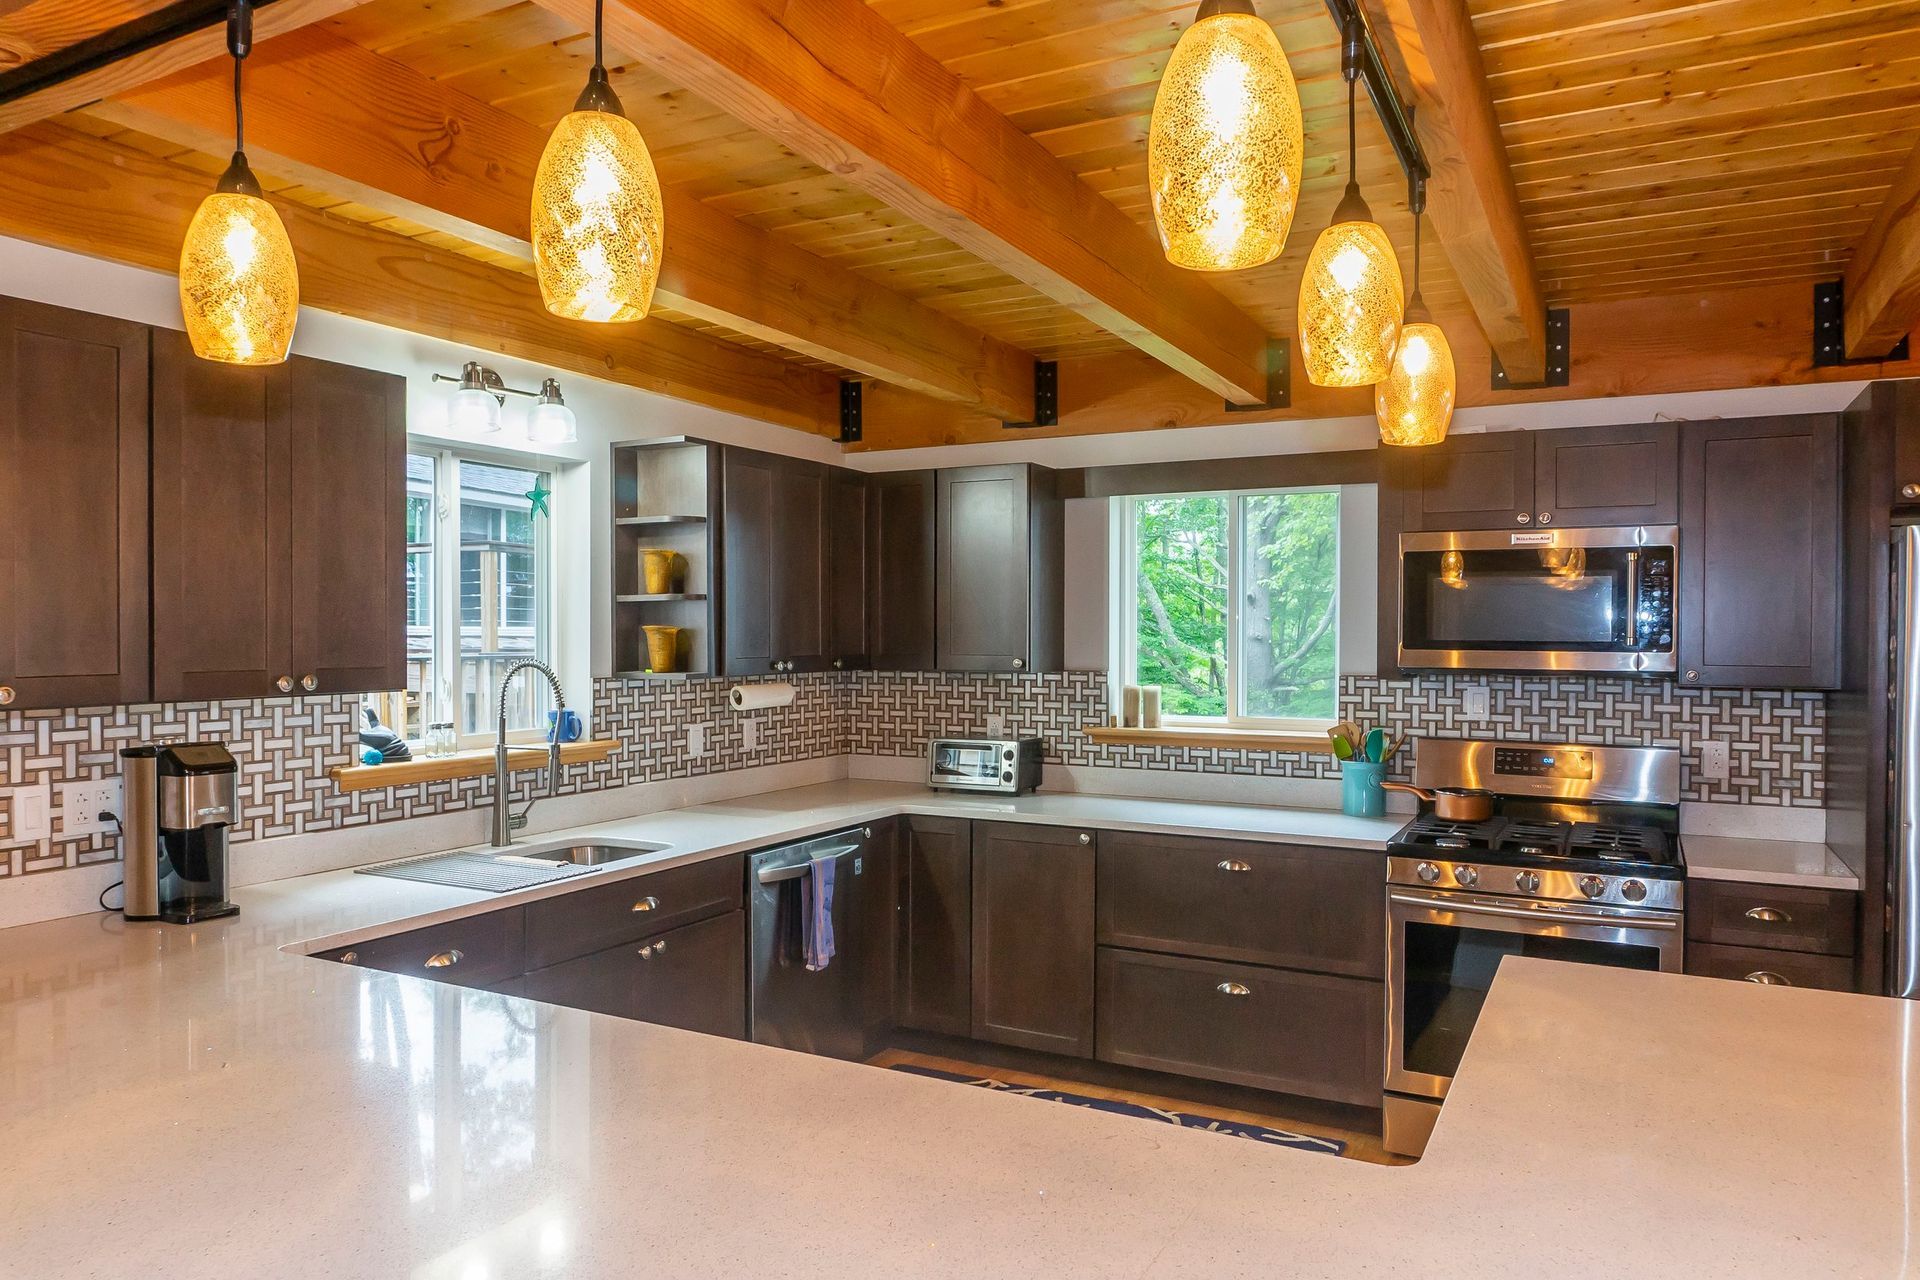
Baseboards
Baseboards sit at the bottom of your walls and cover the gap where the wall meets the floor. They protect your walls from bumps and scratches while giving the room a polished look.
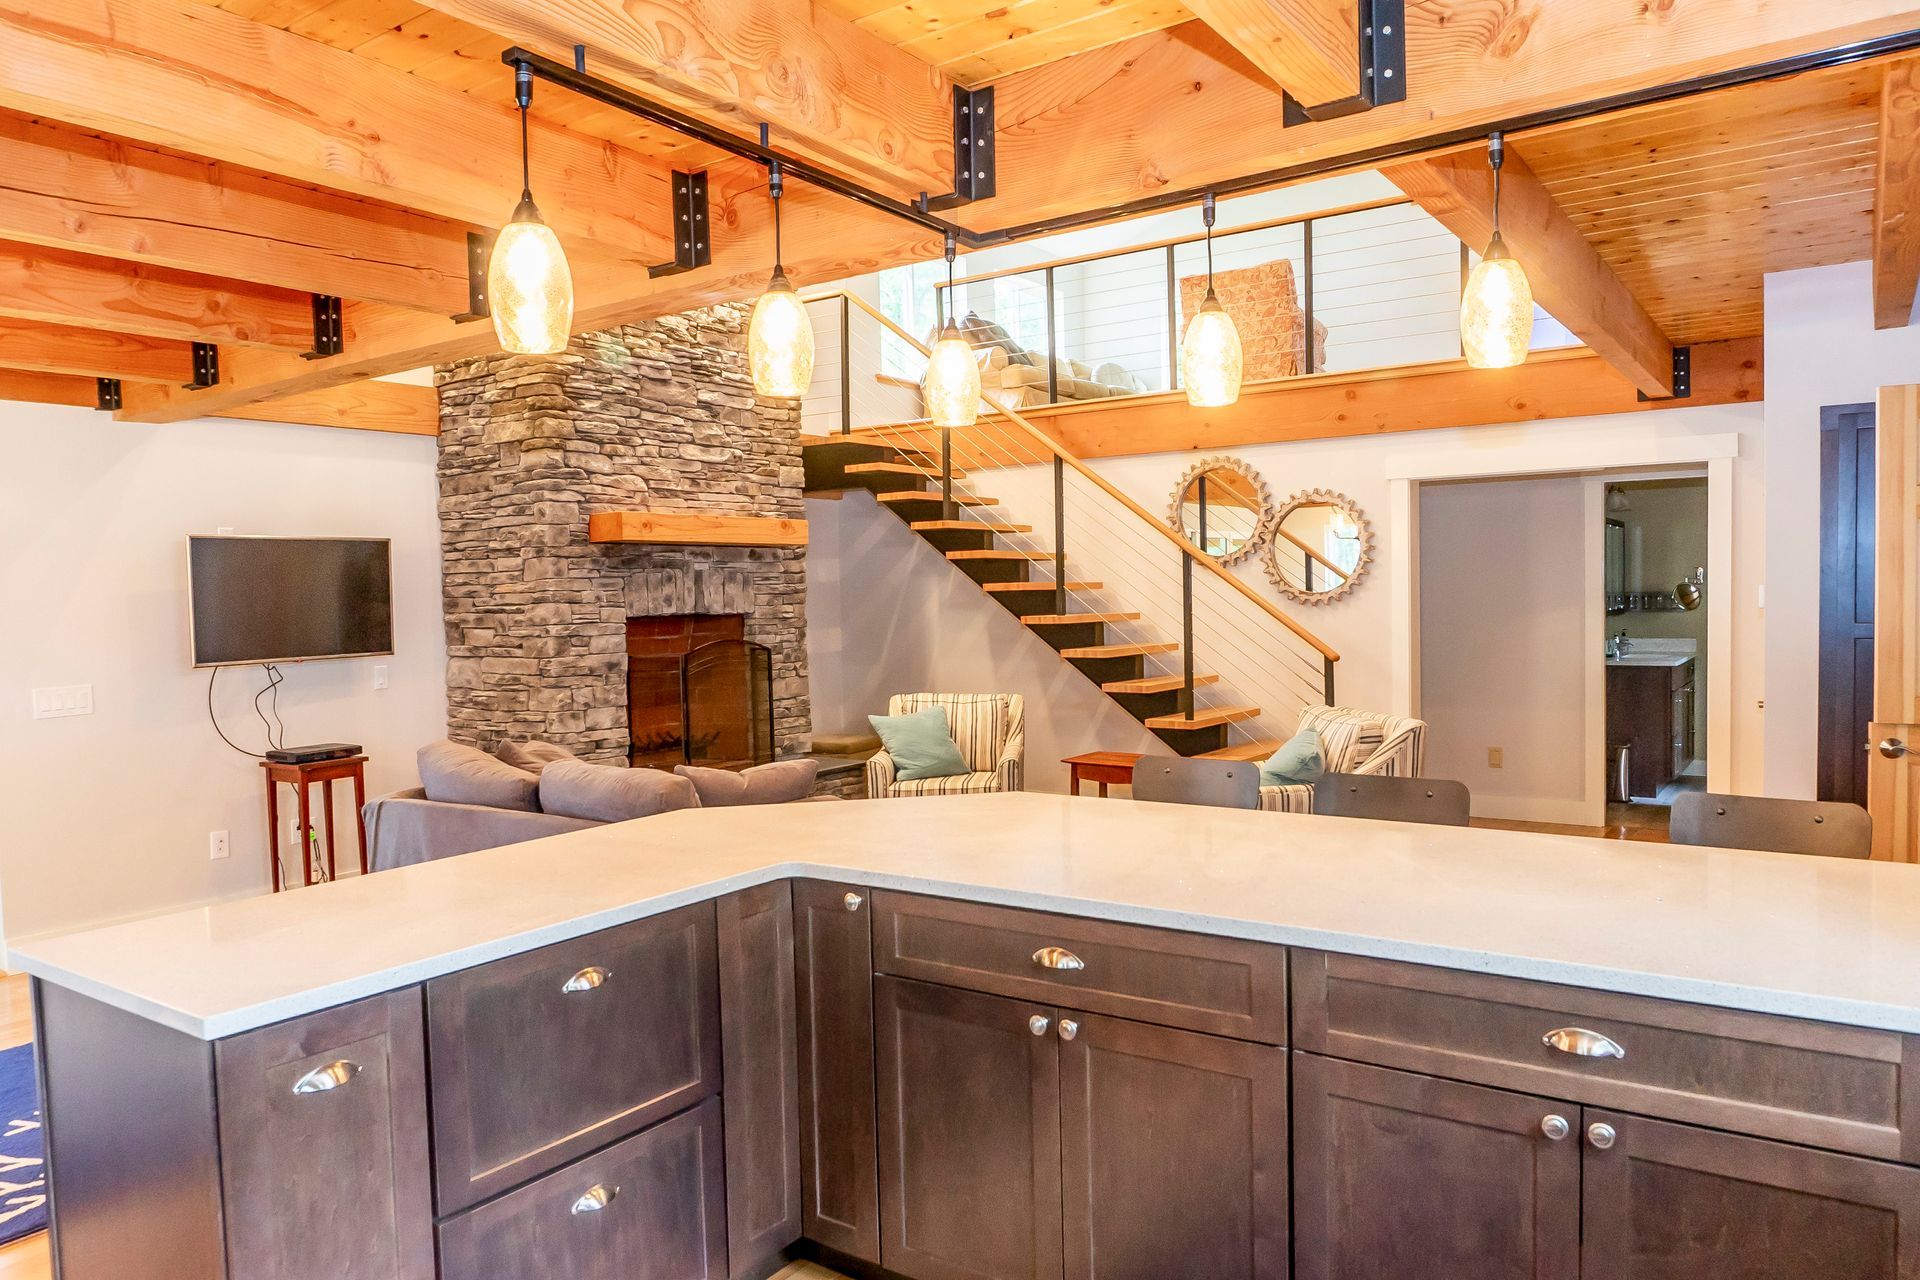
Crown Molding
Crown molding is installed where the walls meet the ceiling. It adds elegance and makes the room look more finished. Even a simple design can make a big difference in the overall feel of the space.
Chair Rails
Chair rails are placed about halfway up the wall. They protect the wall from furniture and add an extra design element to the room.
Picture Rails, Wainscoting, and Custom Profiles
These are all about style and personality. Picture rails are great for hanging artwork, wainscoting adds texture and detail to walls, and custom profiles let you get creative with unique shapes and designs.
Door and Window Casings
Casings frame your doors and windows, making them stand out while hiding any gaps. Depending on your space, you can choose different styles, sizes, and finishes. You can even add extras like plinth blocks or decorative corners for a touch of character.
Keeping the Original Look
If you live in an older home, the original molding might be one of the features you love most. Instead of replacing it, consider restoring or matching it. You can often find woodworking shops that can replicate historic designs. This keeps the home’s charm intact while fixing any damaged pieces or adding new sections where needed.
Common Materials
The material you choose for trim and molding can impact the look and durability. Here are some popular options:
Wood
Wood is a classic choice, offering a warm, natural look. It’s durable but can be expensive and may need regular maintenance.
MDF (Medium-Density Fiberboard)
MDF is affordable and smooth, making it easy to paint. However, it doesn’t hold up well in wet areas like bathrooms.
PVC
PVC is a great option for areas with moisture, like bathrooms or kitchens. It’s water-resistant and low-maintenance, but it doesn’t have the same warmth as wood.
Engineered Materials
These are made to look like wood but are often more durable and resistant to wear and tear.
Trim vs. Molding
Molding is usually decorative, like crown molding at the ceiling, while the trim is more functional. Trim frames windows, doors, and floors, filling gaps and making the space look neat. Both work together to create a complete, polished design.
Simple Solutions to Common Trim and Molding Problems
Fixing Uneven Surfaces
Have you noticed walls, ceilings, or floors that aren’t completely straight? This can be a big challenge when installing trim or crown molding. To fix it, take your time and make small adjustments. Adding shims or fine-tuning the fit can make everything line up perfectly.
Closing Those Annoying Gaps
Gaps between your molding and the wall can ruin the look of your project. You can avoid this by measuring carefully and using caulk to fill in any spaces. This small step makes a big difference and gives your work a polished, professional finish.
Matching Styles Seamlessly
It can be tricky to match new trim or crown molding to what’s already in the room. Take a good look at the existing designs, like shapes, patterns, and finishes. Focusing on these details will help your new additions blend in smoothly.
Perfecting Cuts and Joints
Getting clean, precise cuts for miter joints or coping can be tough. To avoid mistakes, measure twice and test your cuts before attaching the pieces. Taking a little extra care will ensure everything fits snugly with no noticeable gaps.
Picking the Right Materials
Choosing the wrong materials can lead to problems like warping, cracking, or a poor finish. Using high-quality wood or other sturdy materials is important for trim, baseboards, or crown molding. This makes the final result more durable and visually appealing.
How Custom Finish Carpentry Solves These Challenges
Tools That Get the Job Done Right
Custom carpenters rely on tools like miter saws, coping saws, and laser levels to make sure every cut is spot-on. These tools help create clean lines and tight joints for crown molding, baseboards, and trim, giving your space a professional and polished look.
Perfecting the Fit
A perfect fit is the key to great trim and molding work. To handle uneven walls, floors, or ceilings, custom carpenters use tricks like scribing and shimming. These small fixes make sure everything fits snugly, making your home look seamless and well-crafted.
Solving Tough Spaces with Creative Solutions
Not all rooms are straightforward, and that’s where custom carpentry shines. Whether it’s a curved wall, a tricky corner, or a slanted ceiling, skilled carpenters come up with clever ways to make trim and molding work perfectly in any space.
Blending with Existing Styles
Matching new trim with what’s already in your home can be tough, but custom carpenters know how to do it. They can copy old designs or create new ones that look like they’ve always been there, keeping your home’s style consistent and beautiful.
Picking the Best Materials
Good materials make a big difference in how your project looks and lasts. Custom carpenters help you choose high-quality options that suit your project, whether it’s crown molding, a fireplace surround, or cabinetry. The right materials ensure your finish carpentry stands the test of time.
With the right tools, techniques, and materials, custom finish carpentry can solve almost any challenge. The result? Stunning trim and molding work that brings pride and beauty to every room in your home!
Pro Tips for Homeowners Planning Custom Trim and Molding Projects
Choosing the Right Carpenter
Finding the right carpenter is key to a successful project. Look for someone with experience and a strong portfolio that reflects your style. Check reviews and ask about their past work. A talented carpenter will add creativity and attention to detail, ensuring your crown molding, baseboards, or custom trim look stunning.
Creating a Clear Budget
Custom trim and molding projects come in a range of costs, so it’s important to set a clear budget. The price depends on factors like the type of material, the design's complexity, and the labor involved. From enhancing a fireplace to upgrading a bathroom or adding charm to your kitchen, planning your budget ahead will help you stay on track.
Planning Your Timeline
A good timeline helps your project run smoothly. Discuss with your carpenter how long the work will take and plan for any disruptions in busy areas like kitchens or hallways. Taking time to organize the schedule can make the process easier and less stressful.
Caring for Your Trim and Molding
After installation, keeping your trim and molding looking great requires simple maintenance. Dust regularly and wipe away marks to preserve their beauty. For wood finishes, polishing occasionally can keep the finish fresh and attractive over time.
By following these tips, you can ensure your custom carpentry project is smooth and rewarding, giving your home a polished and timeless look!
Why Custom Finish Carpentry Is a Great Choice
Transform Your Home’s Look
Custom finish carpentry can completely change how your home feels. It’s like giving your space a fresh personality that fits your style perfectly. Whether your home has a modern, rustic, or classic design, custom trim and molding can pull everything together beautifully.
Add Value to Your Home
Think of custom carpentry as more than just a makeover—it’s an investment. High-quality, custom work catches attention and adds lasting value to your home. When it’s time to sell, potential buyers will appreciate the extra detail and care, making your home stand out.
Made to Last
Nobody likes fixing things over and over. Custom trim and molding are crafted to hold up over time. With durable materials and expert craftsmanship, they can handle the wear and tear of everyday life, so you can enjoy them for years to come.
Showcase Your Style
Here’s the fun part: custom carpentry lets you add your personal touch. You get to design trim and molding that reflect your personality and vision. Whether you love bold details or simple, clean designs, it’s all about making your home feel truly yours.
Frequently Asked Questions
What Are the Best Tools for Woodworking?
Basic Hand Tools:
- The Claw Hammer – Essential for driving nails and removing them effortlessly.
- The Tape Measure – Key for measuring wood accurately and planning your cuts.
- The Utility Knife – Useful for cutting, trimming, and scoring wood or materials like veneer.
- The Moisture Meter – Measures wood moisture content to avoid issues like warping or cracking.
- The Chisel – Ideal for carving, shaping wood, and cleaning out joints or edges.
- The Level – Ensures your projects are straight and perfectly aligned.
- The Screwdriver – A must-have for tightening or loosening screws on your woodwork.
- The Nail Set – Drives nails slightly below the surface for a polished finish.
- The Sliding Bevel – Helps measure and transfer angles for precise woodworking.
- The Layout Square – Ensures straight cuts and perfect 90-degree angles.
Cutting Tools:
- The Handsaw – A versatile tool for making straight cuts in wood.
- The Jigsaw – Perfect for making curved or intricate cuts.
- The Circular Saw – A powerful tool for straight cuts on large pieces of wood.
- The Miter Saw – Best for making accurate crosscuts and angled cuts.
- The Coping Saw – Great for cutting intricate shapes and curves in wood.
Sharping Tools:
- The Block Plane – Used to smooth out wood edges and surfaces.
- The Rasp – Shapes wood roughly and removes material quickly.
- The Spokeshave – Shapes and smooths rounded surfaces like chair legs.
- Drilling and Fastening Tools:
- The Drill/Driver – Essential for drilling holes and driving screws efficiently.
- The Brad Nailer – Speeds up the process of attaching trim and molding.
Measuring and Marking Tools:
- The Marking Gauge – Helps mark precise lines parallel to edges.
- The Compass – Used for drawing circles or arcs on wood.
- The Depth Gauge – Checks and sets the depth of cuts for precision work.
Sanding and Finishing Tools:
- The Sanding Block – Provides a smooth surface for even sanding by hand.
- The Random Orbital Sander – Speeds up sanding with a smooth, swirl-free finish.
Advanced Tools:
- The Router – Great for hollowing out, shaping edges, and making decorative cuts.
- The Table Saw – A powerful saw for precise, repetitive cuts on large wood pieces.
- The Wood Lathe – Used for turning wood into rounded shapes like bowls or table legs.
These tools cover basic to advanced woodworking needs. Each one plays a vital role depending on the type of project you’re working on!
How To Maintain Carpentry Tools?
Taking care of your carpentry tools is essential for them to last long and perform well. Here are some simple tips to keep your tools in top shape:
1. Clean Tools After Use
Wipe off sawdust, dirt, and debris after every use. Use a dry cloth or a soft brush, and for sticky residue, use a mild cleaner.
2. Oil Moving Parts
For tools with moving parts like hinges or blades, apply a small amount of machine oil to prevent rust and keep them running smoothly.
3. Sharpen Blades Regularly
Dull blades are unsafe and inefficient. Sharpen chisels, saws, and plane blades regularly using sharpening stones or professional sharpening services.
4. Store Properly
Keep tools in a dry, clean place. Use toolboxes, cabinets, or wall racks to organize and protect them from moisture and accidental damage.
5. Check for Rust
Inspect tools regularly for signs of rust. If you spot any, remove it with fine sandpaper, steel wool, or a rust remover, then reapply a protective oil.
6. Tighten Loose Parts
Check screws, bolts, and handles for looseness and tighten them to prevent accidents or damage.
7. Maintain Power Tools
For power tools, clean vents to avoid dust buildup, check cords for damage, and replace worn-out parts like blades or bits promptly.
8. Calibrate Measuring Tools
Ensure tools like levels, tape measures, and squares are accurate. Adjust or replace them if they’re no longer precise.
9. Use the Right Tool for the Job
Avoid misuse that can damage your tools. Always use the correct tool for the task to ensure safety and prevent unnecessary wear and tear.
10. Schedule Routine Maintenance
Set aside time to inspect all your tools regularly. This can help catch and fix small issues before they become major problems.
By following these steps, your carpentry tools will stay reliable and ready for every project!
How Much Does Custom Carpentry Cost?
Custom carpentry typically costs between $30 and $200 per hour, with the average rate falling around $75 to $125 per hour. The exact price depends on various factors such as the complexity of the project, the carpenter’s expertise, and your location. These factors can significantly influence the overall cost.
Bring Your Vision to Life with White Cap Builders
Custom finish carpentry adds style, value, and personality to your home. From stunning crown molding to unique, personalized designs, quality craftsmanship ensures every detail is done right.
At White Cap Builders in Belfast, Maine, we specialize in creating spaces you’ll love. As a locally owned company, we offer top-notch services for renovations, new construction, and more—all tailored to your needs.
Let’s turn your dream home into reality. Call us at (207) 338-3112 today to get started!